Lay out
Establish the cabinet runs, appliance openings, and wall reference points before installation begins.
 K4 Construction& Remodel
Completed scope · Interior renovation
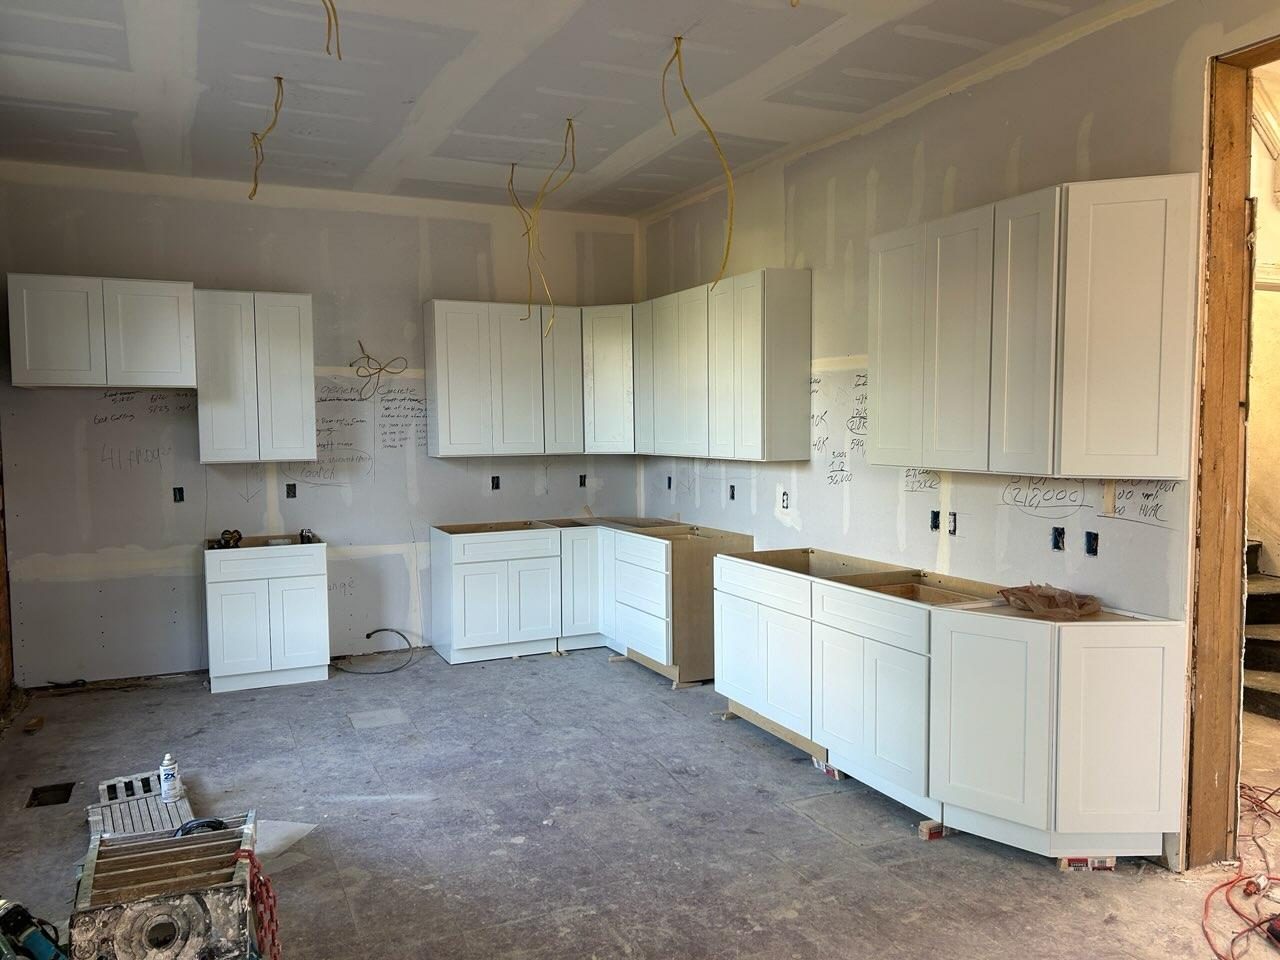
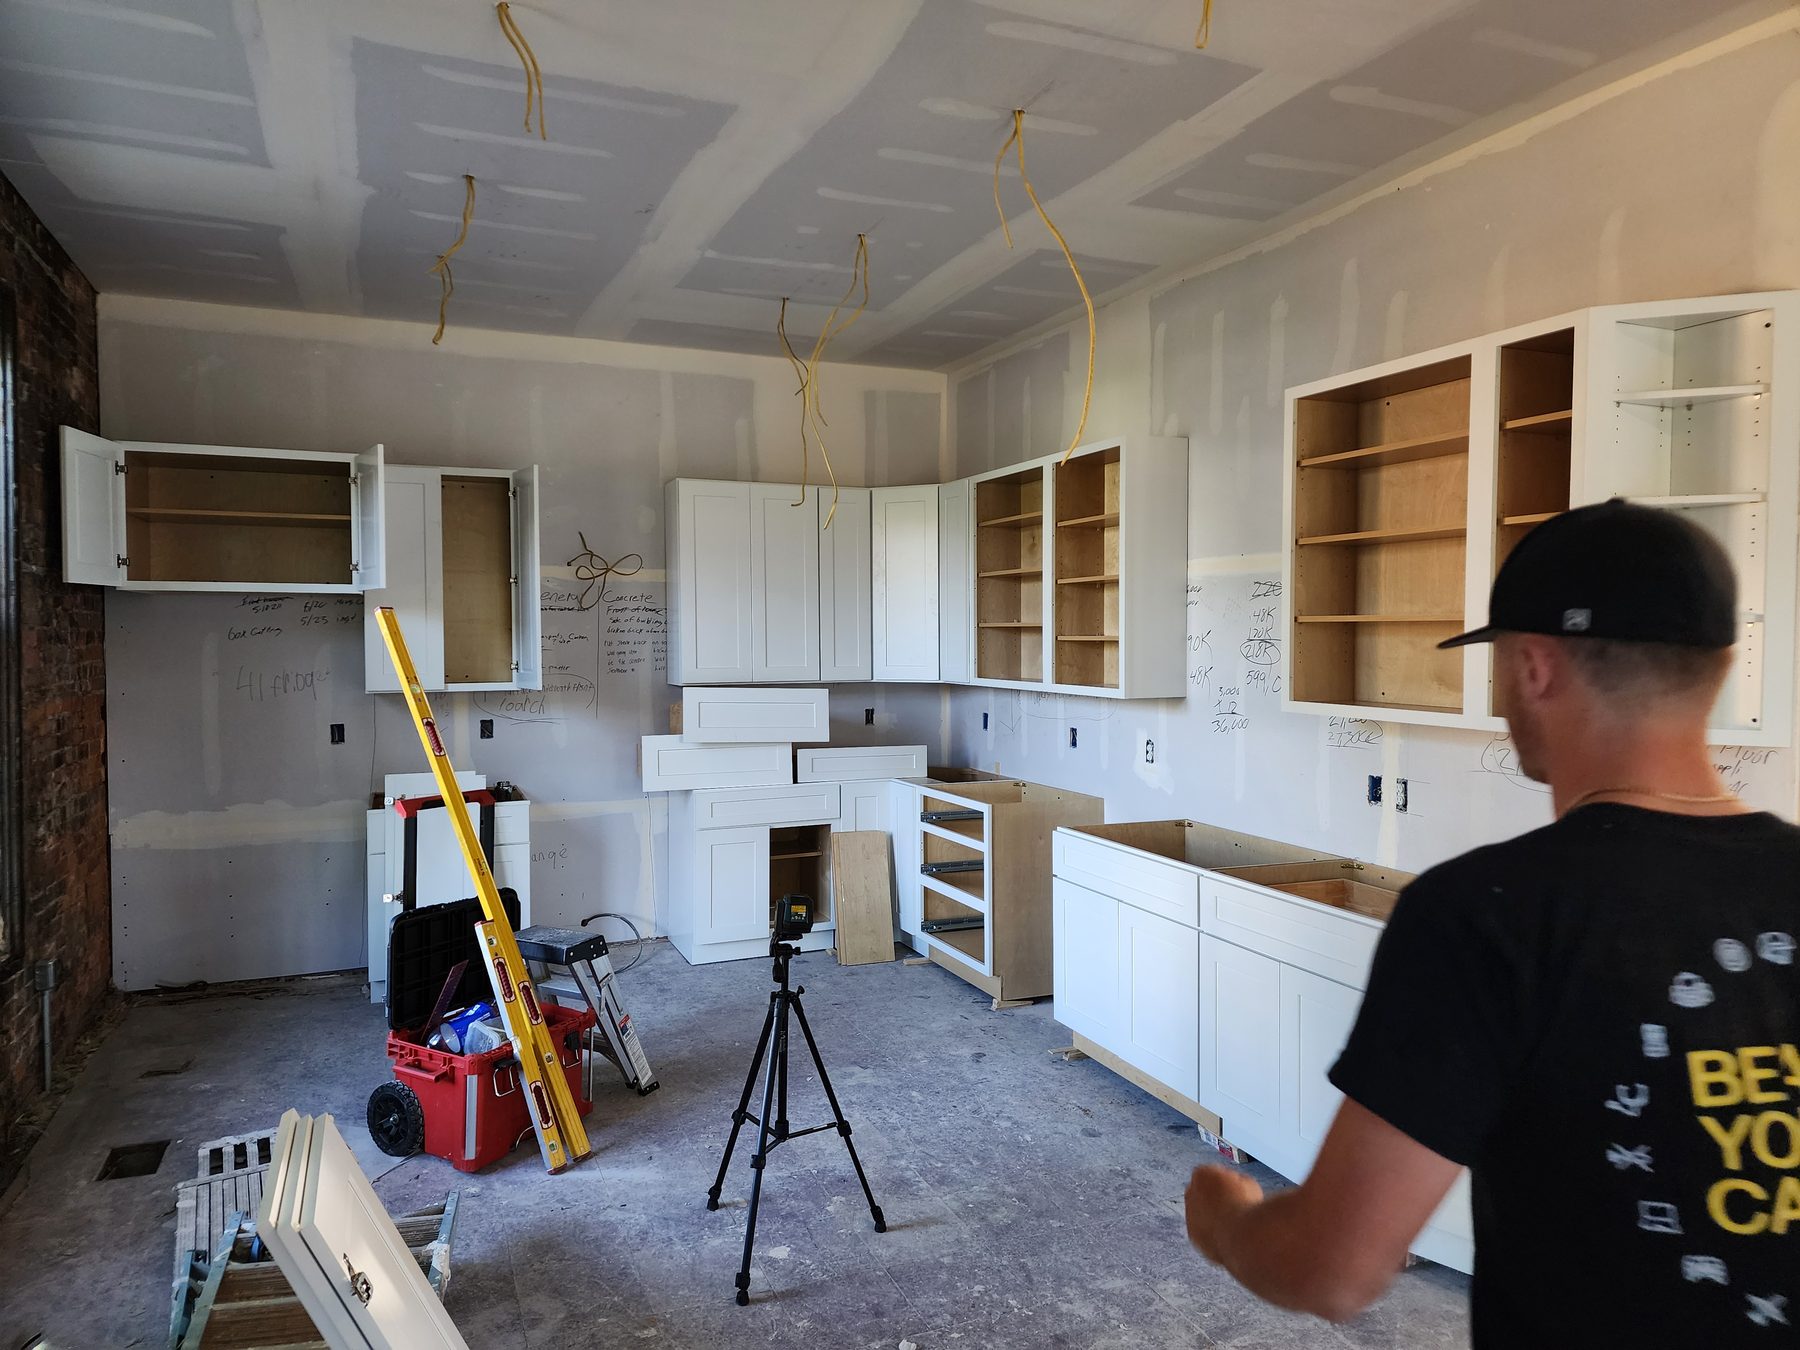
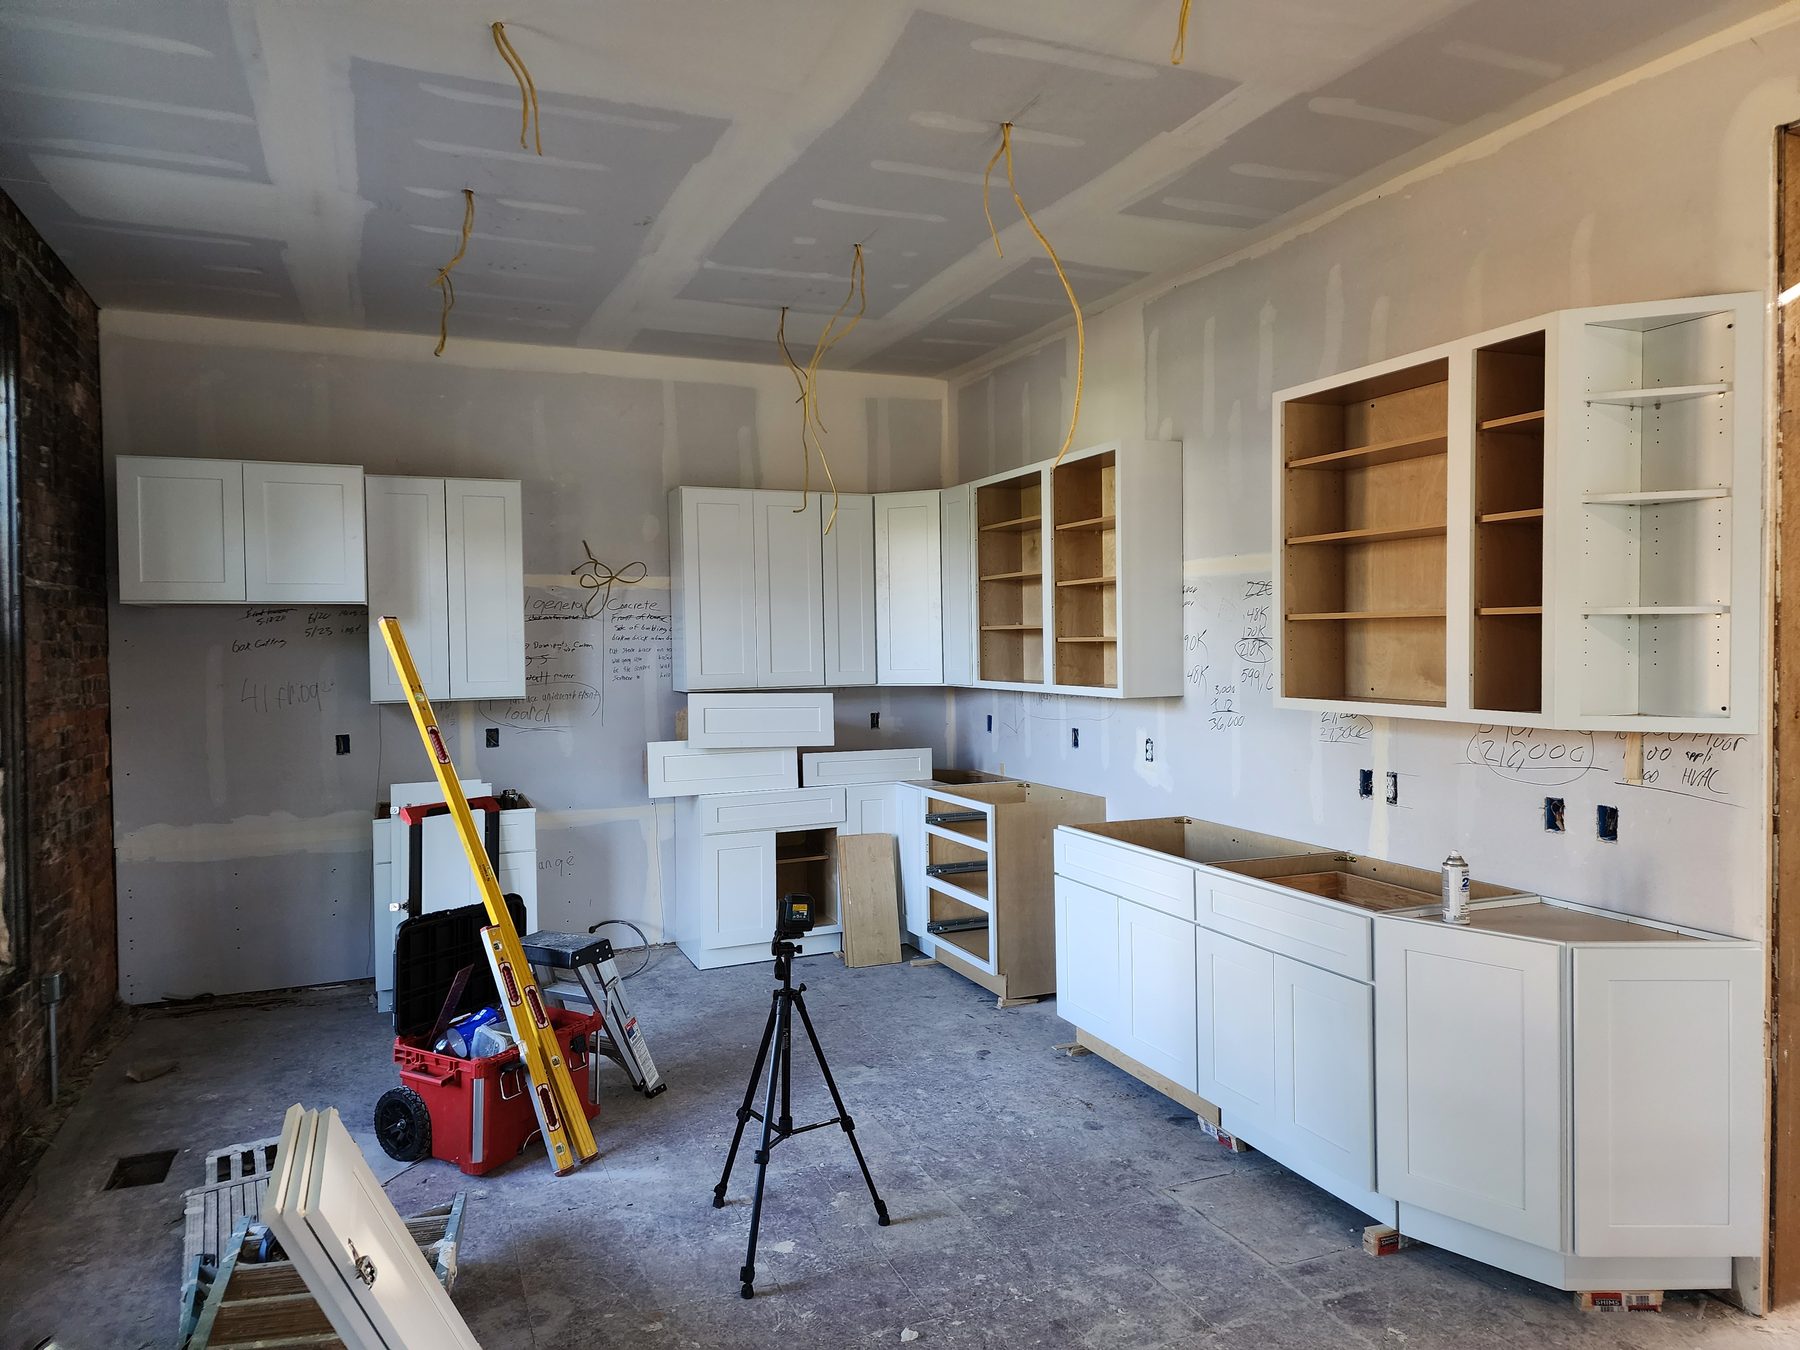
K4 laid out and installed white shaker cabinetry for this residential property flip, using laser-guided reference lines to keep the upper and base cabinets level, aligned, and ready for the next finish trades.
The project
Cabinet installation depends on consistent reveals, level runs, and accurate openings for appliances and fixtures. K4 established the layout, hung and aligned the wall cabinets, set the base cabinets, and fitted the doors and drawer fronts.
The eight-photo sequence documents the cabinet-installation phase in working order. Countertops, backsplash, appliances, lighting, and the room's final finishes were outside the completed scope shown here.
Establish the cabinet runs, appliance openings, and wall reference points before installation begins.
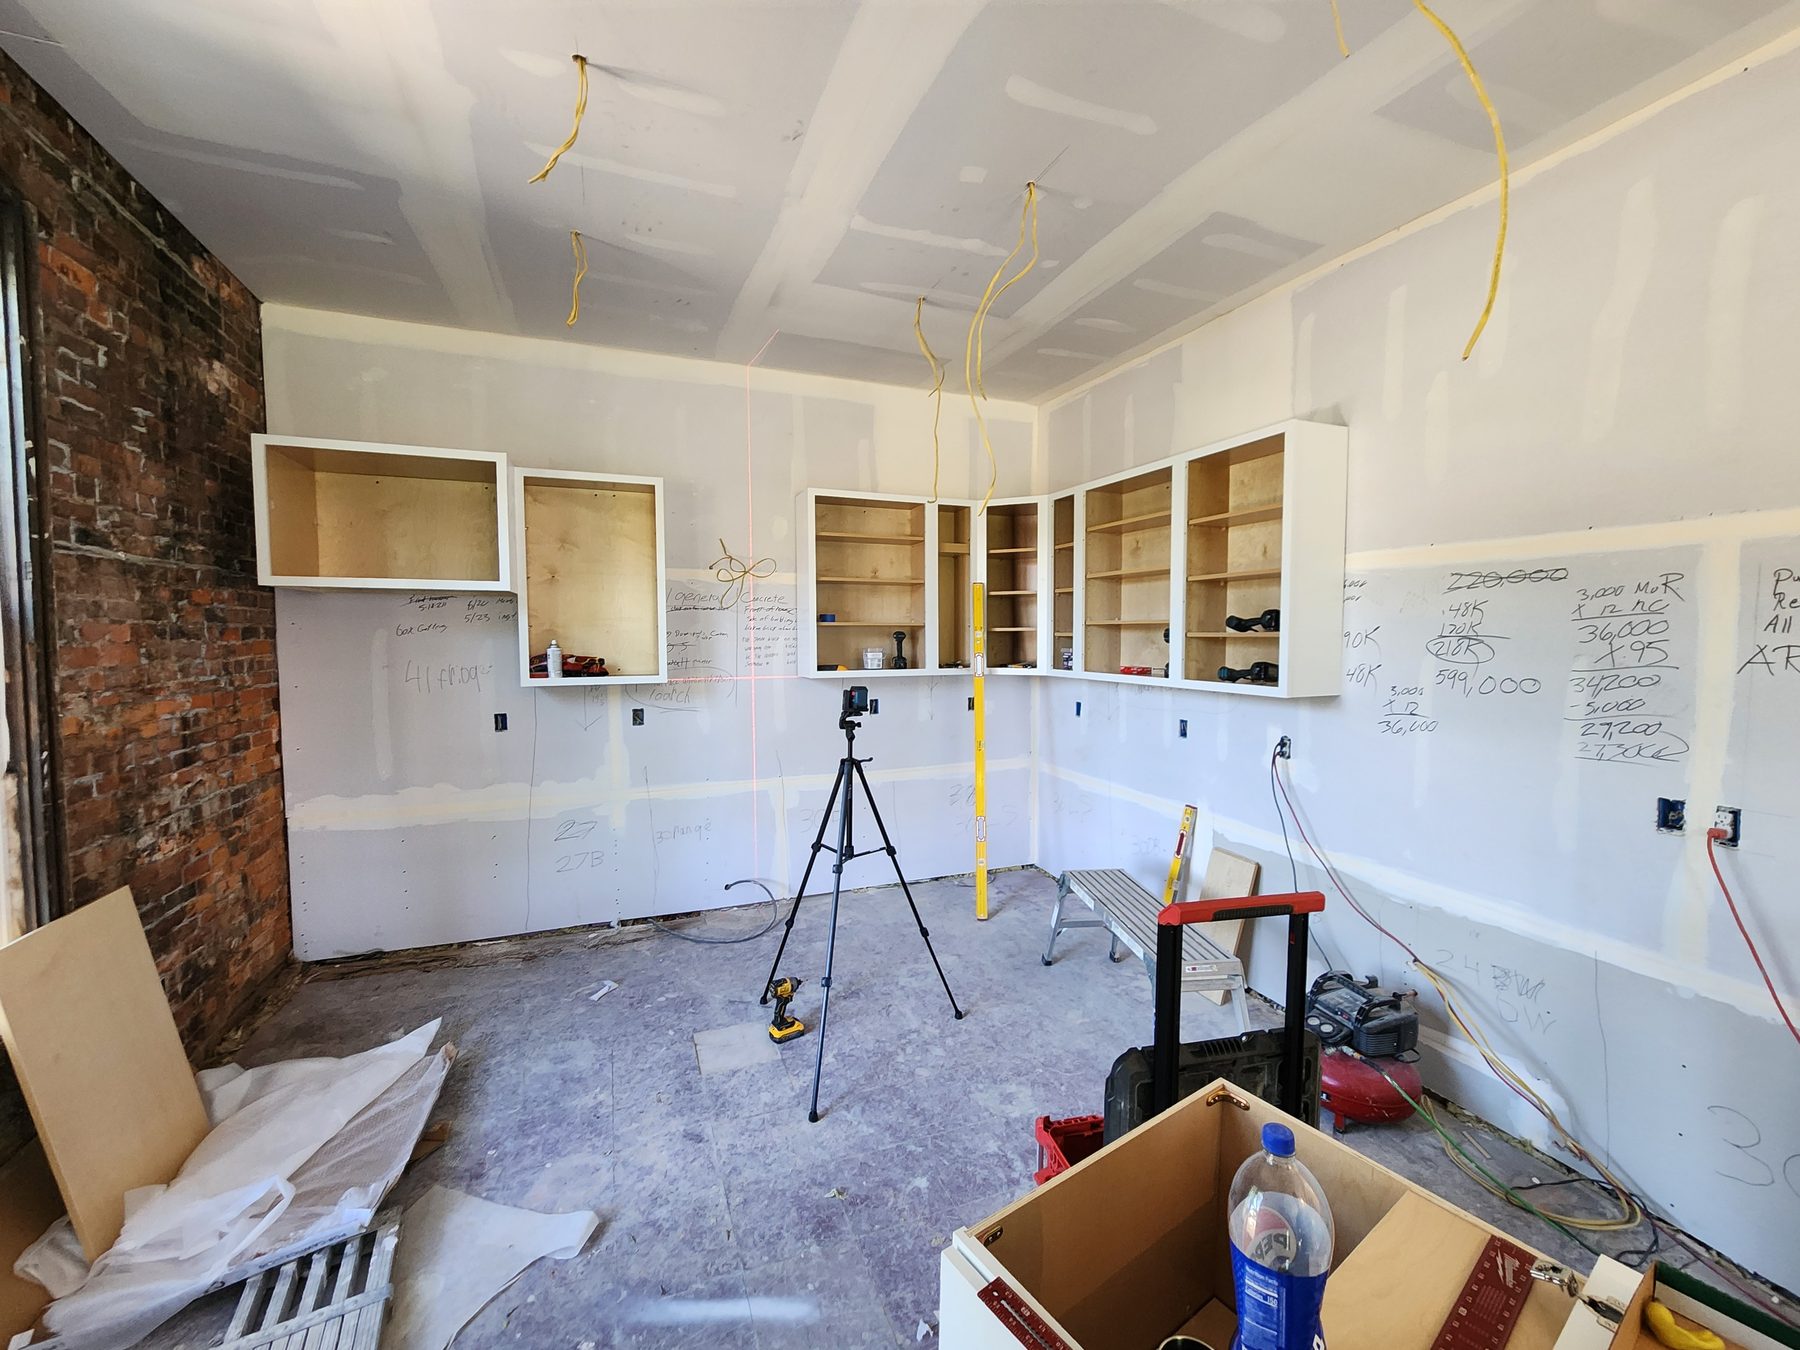
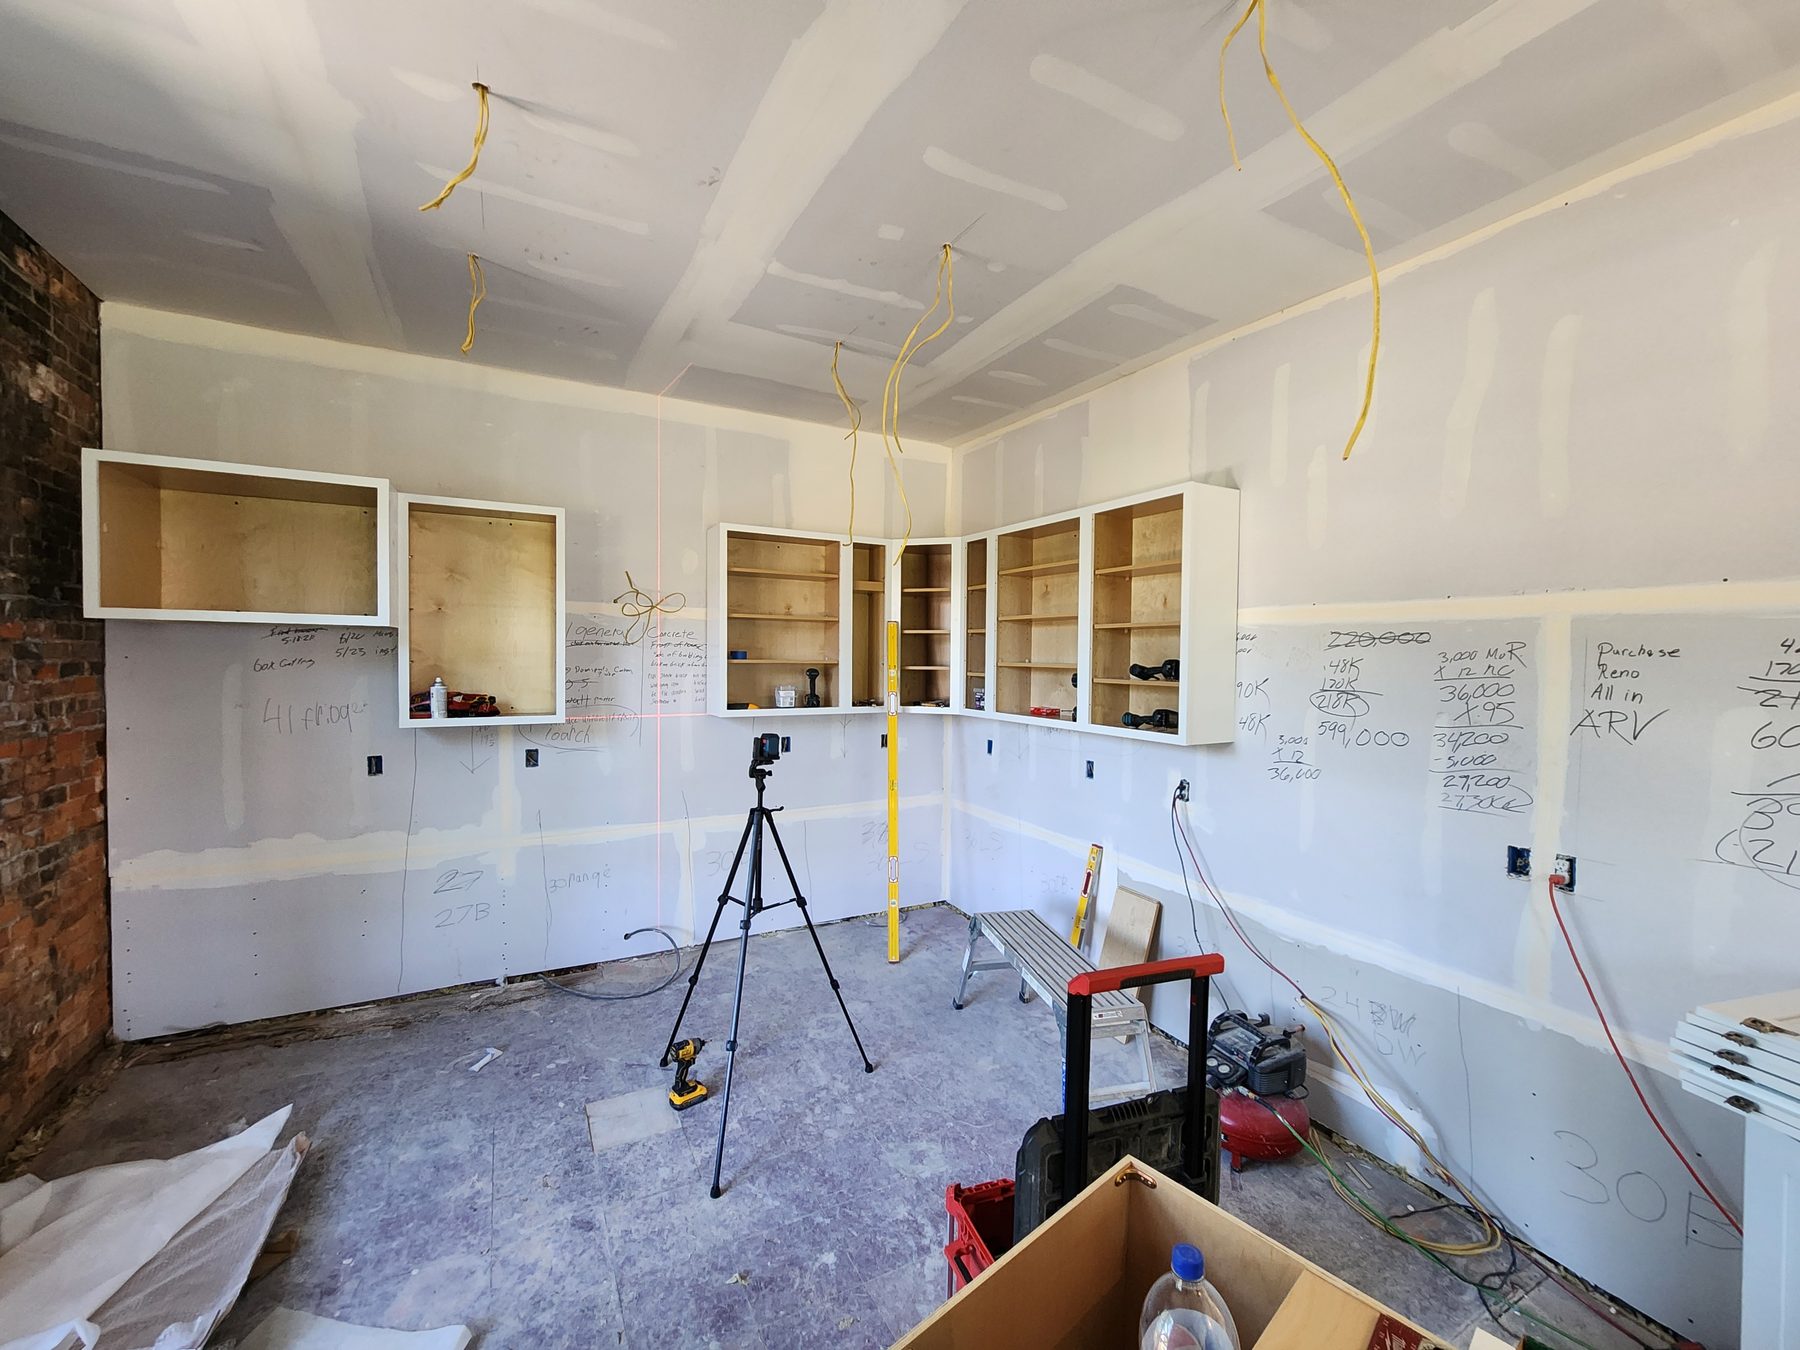
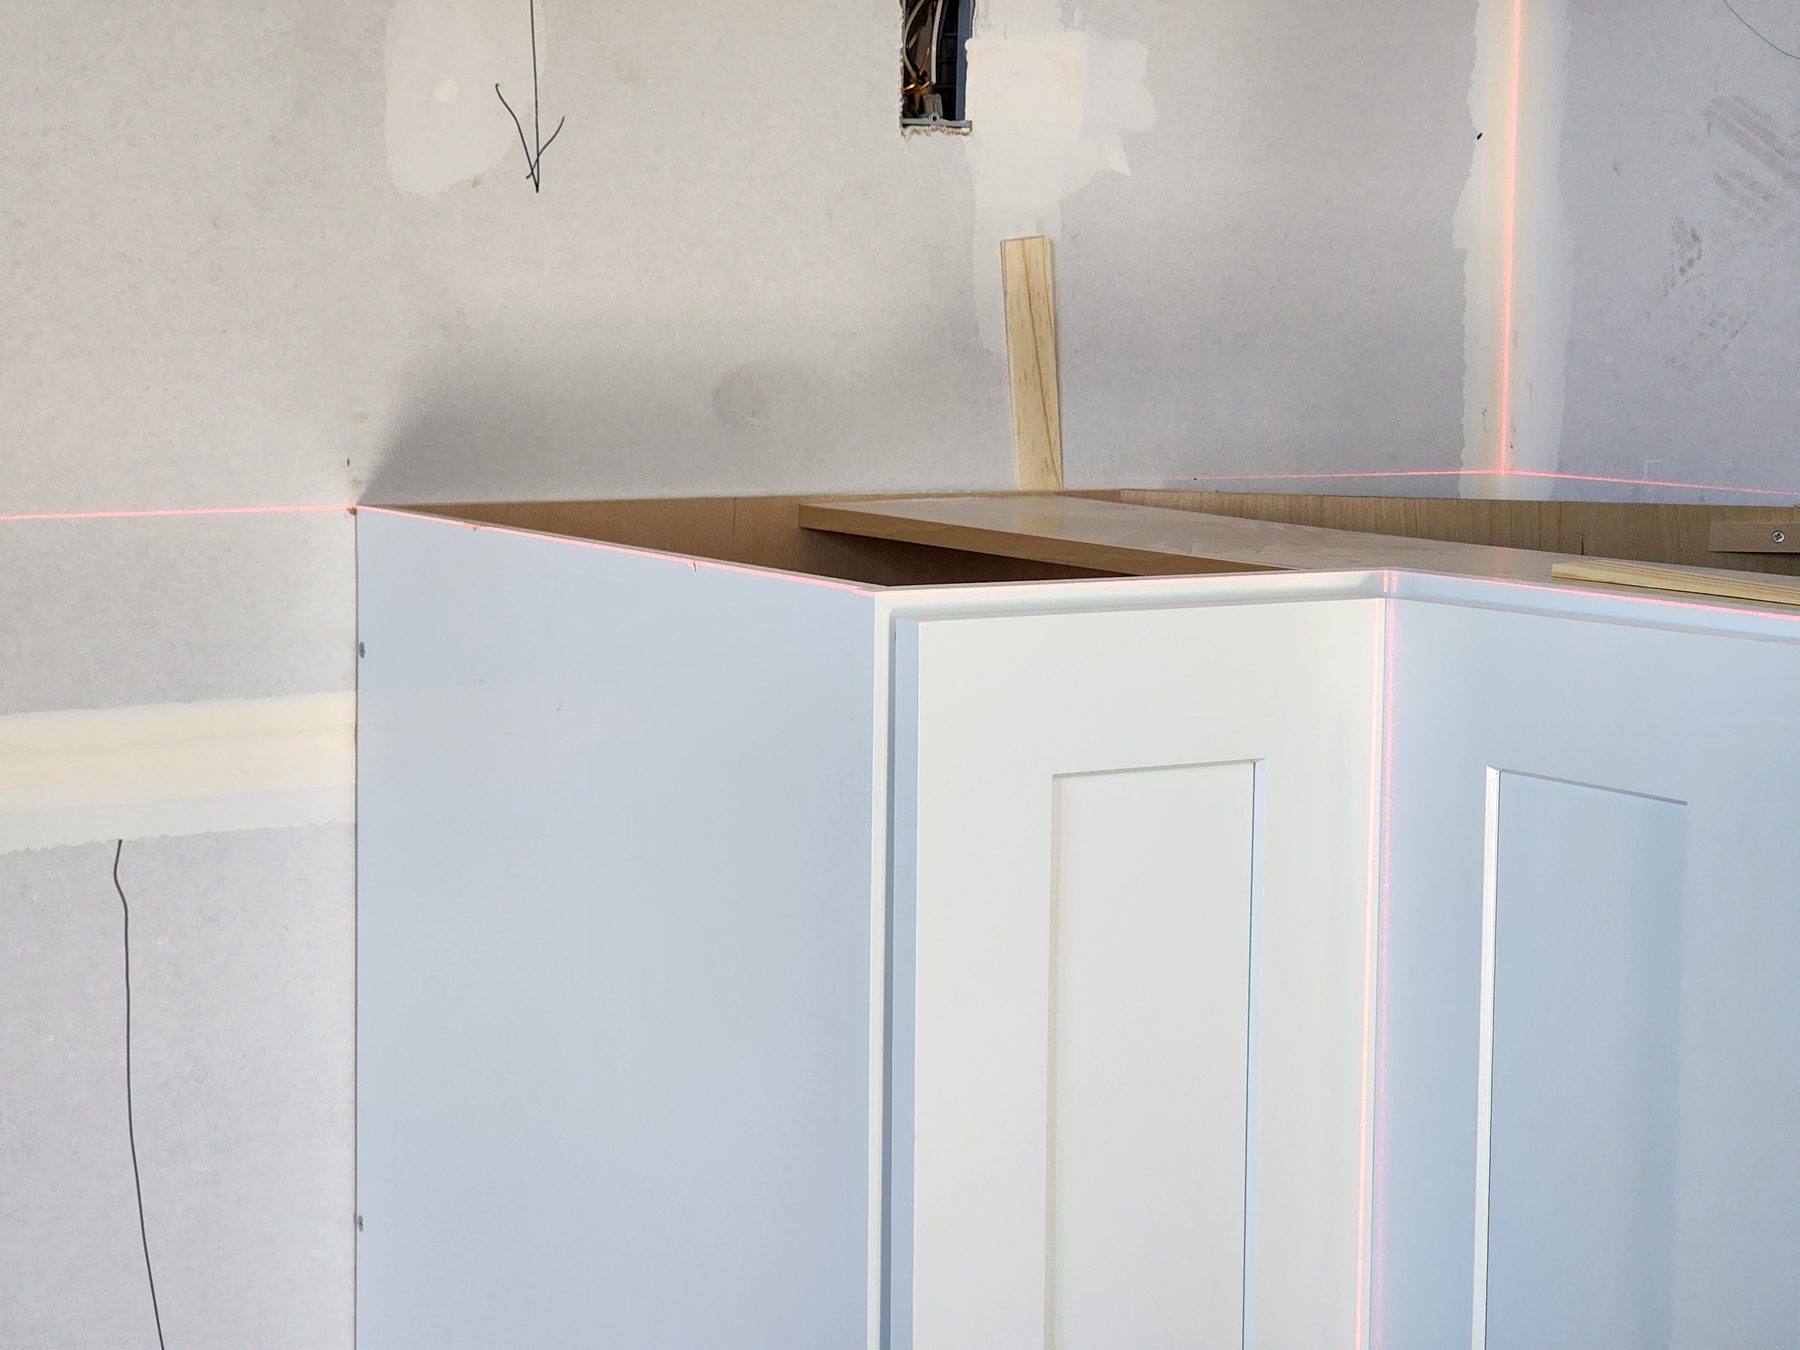
Use laser-guided reference lines to keep the cabinet layout level across the room.
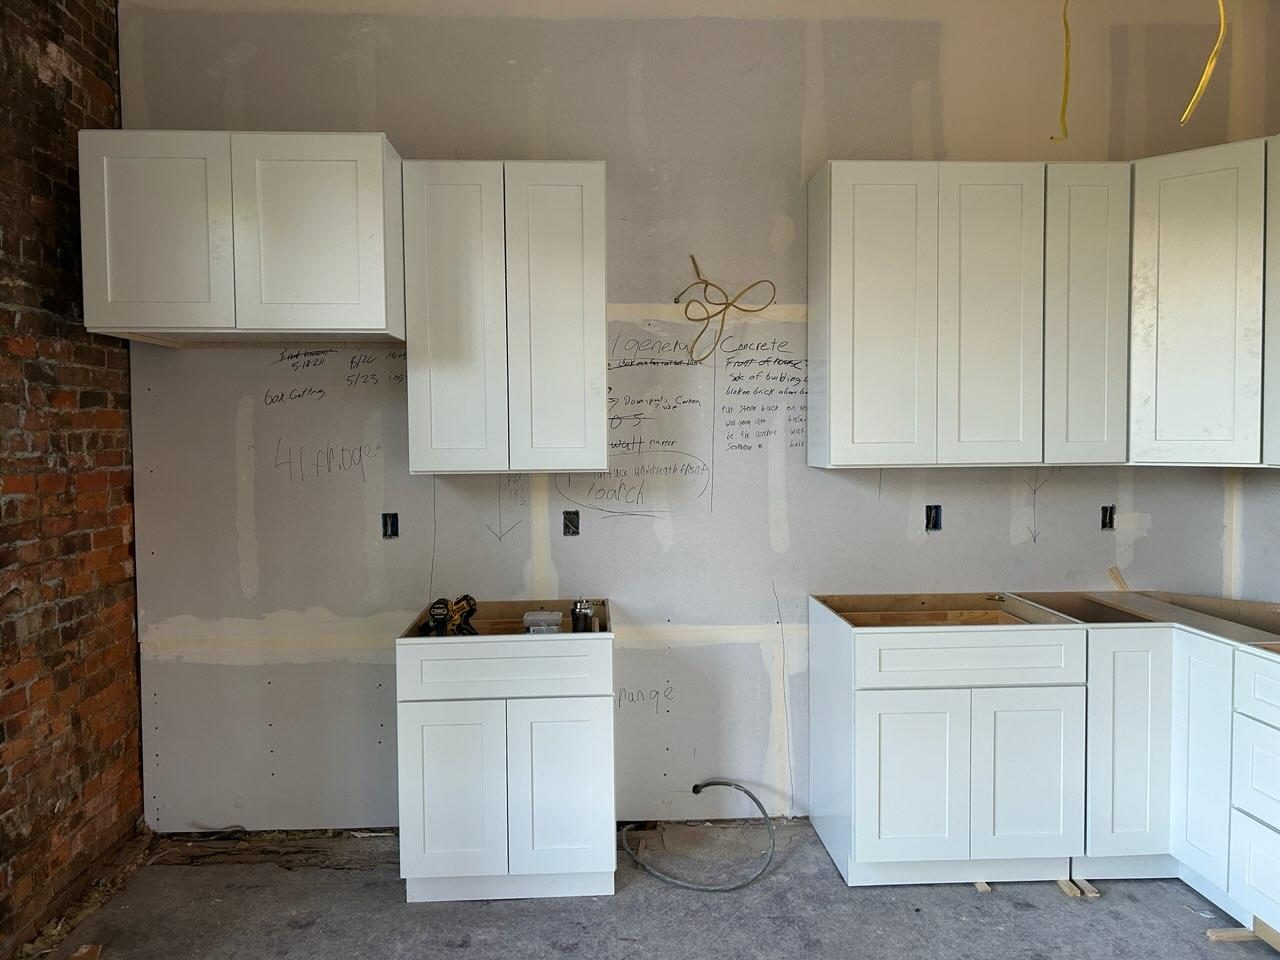
Position and secure the wall cabinets while maintaining consistent height and alignment.
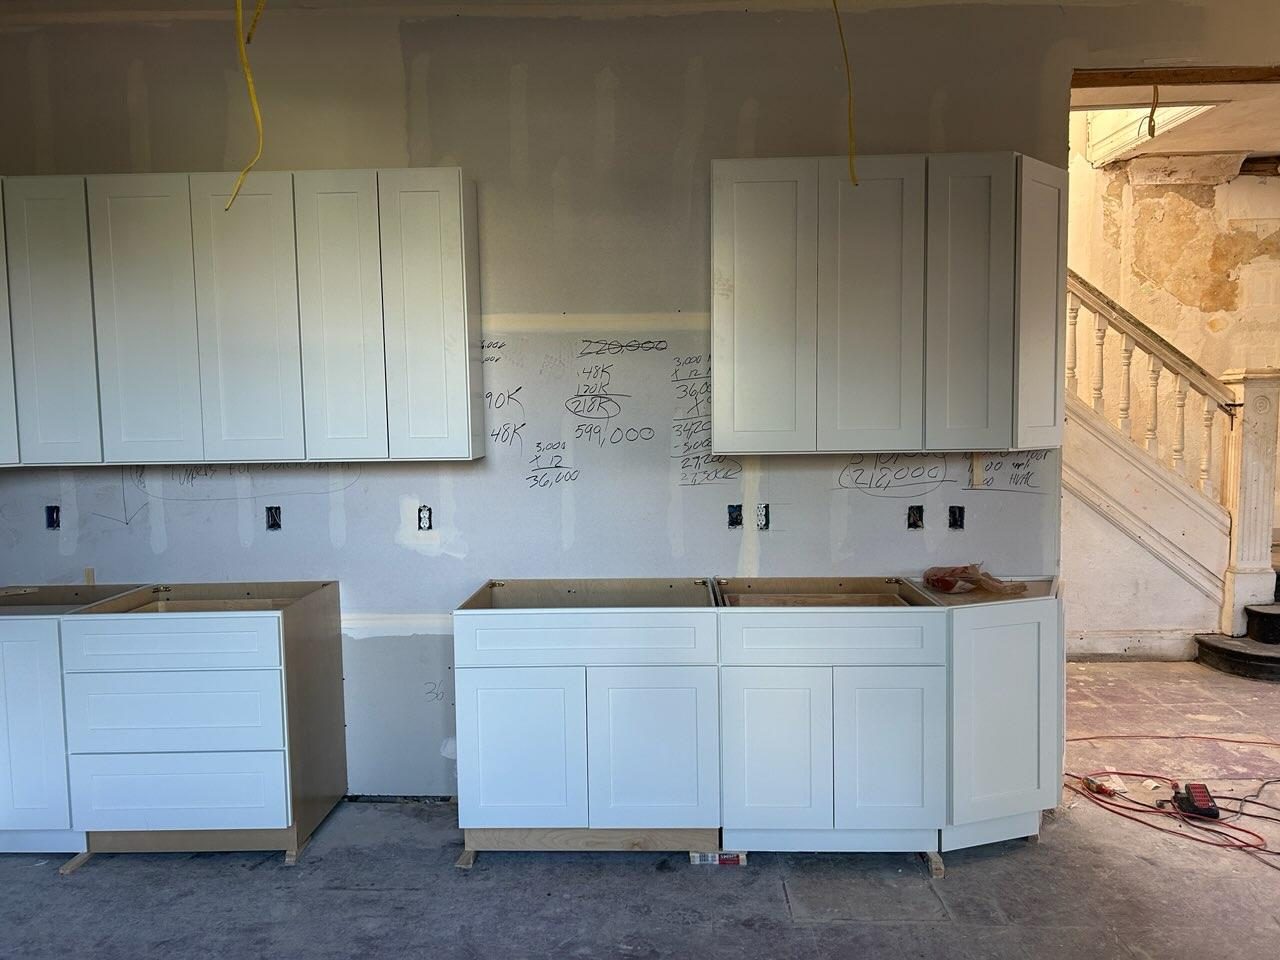
Place the base cabinets and corner units according to the planned kitchen layout.
Install the cabinet doors and drawer fronts as each run is brought together.
Check the completed cabinet runs and prepare them for countertops and the remaining finish trades.
Installation gallery
The photos are arranged by capture time and visible installation progress, from the first wall-cabinet layout and laser reference lines through base-cabinet placement and the aligned cabinet runs.
The result
The white shaker cabinetry gives the flip a clean, consistent storage layout while leaving the room ready for countertops, backsplash, appliances, lighting, and final surfaces.
Discuss your kitchen project ↗